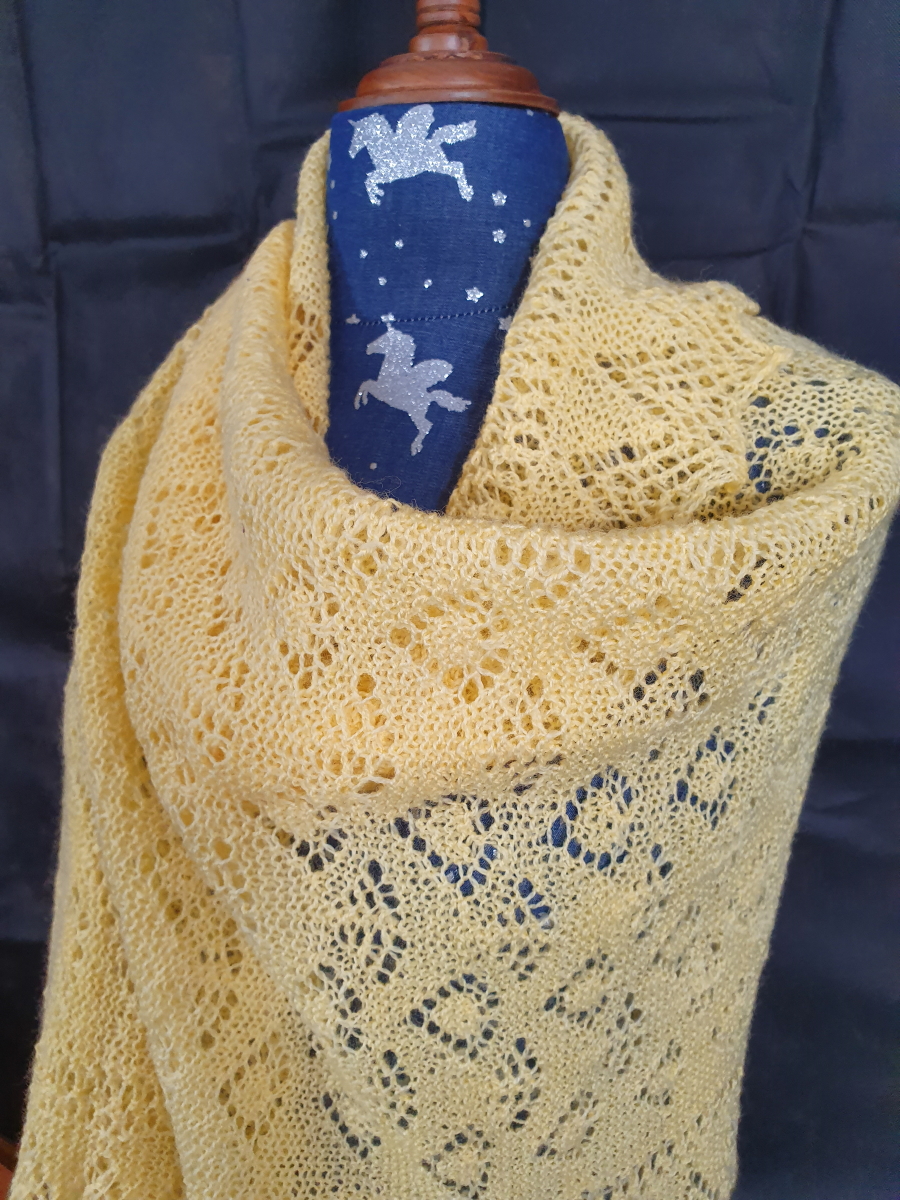
Carding Wool

- Home
- Learning to Spin
- Carding Wool
Quick Links
- Archived - Ask a Knitting Question
- Basic Knitting Stitches
- Beginner Knitting Patterns
- Knitting Abbreviations
- Needle Sizes Chart
- Tension Squares
- Yarn Comparison Chart
FYI: This site receives a small amount in commissions from affiliate links and third-party advertising.
Carding wool is a way to prepare your fleece for spinning which involves combing your fibres. If you want the best results from your spinning efforts you need to start with your fibres opened up, particularly the uncut ends of your locks of wool and all lying straight.
Carding or combing also removes the worst of the dust, dirt, burrs and other plant material from your fleece wool. There are four main techniques used for carding wool, combing, flick carding, hand carding and drum carding.
Combing
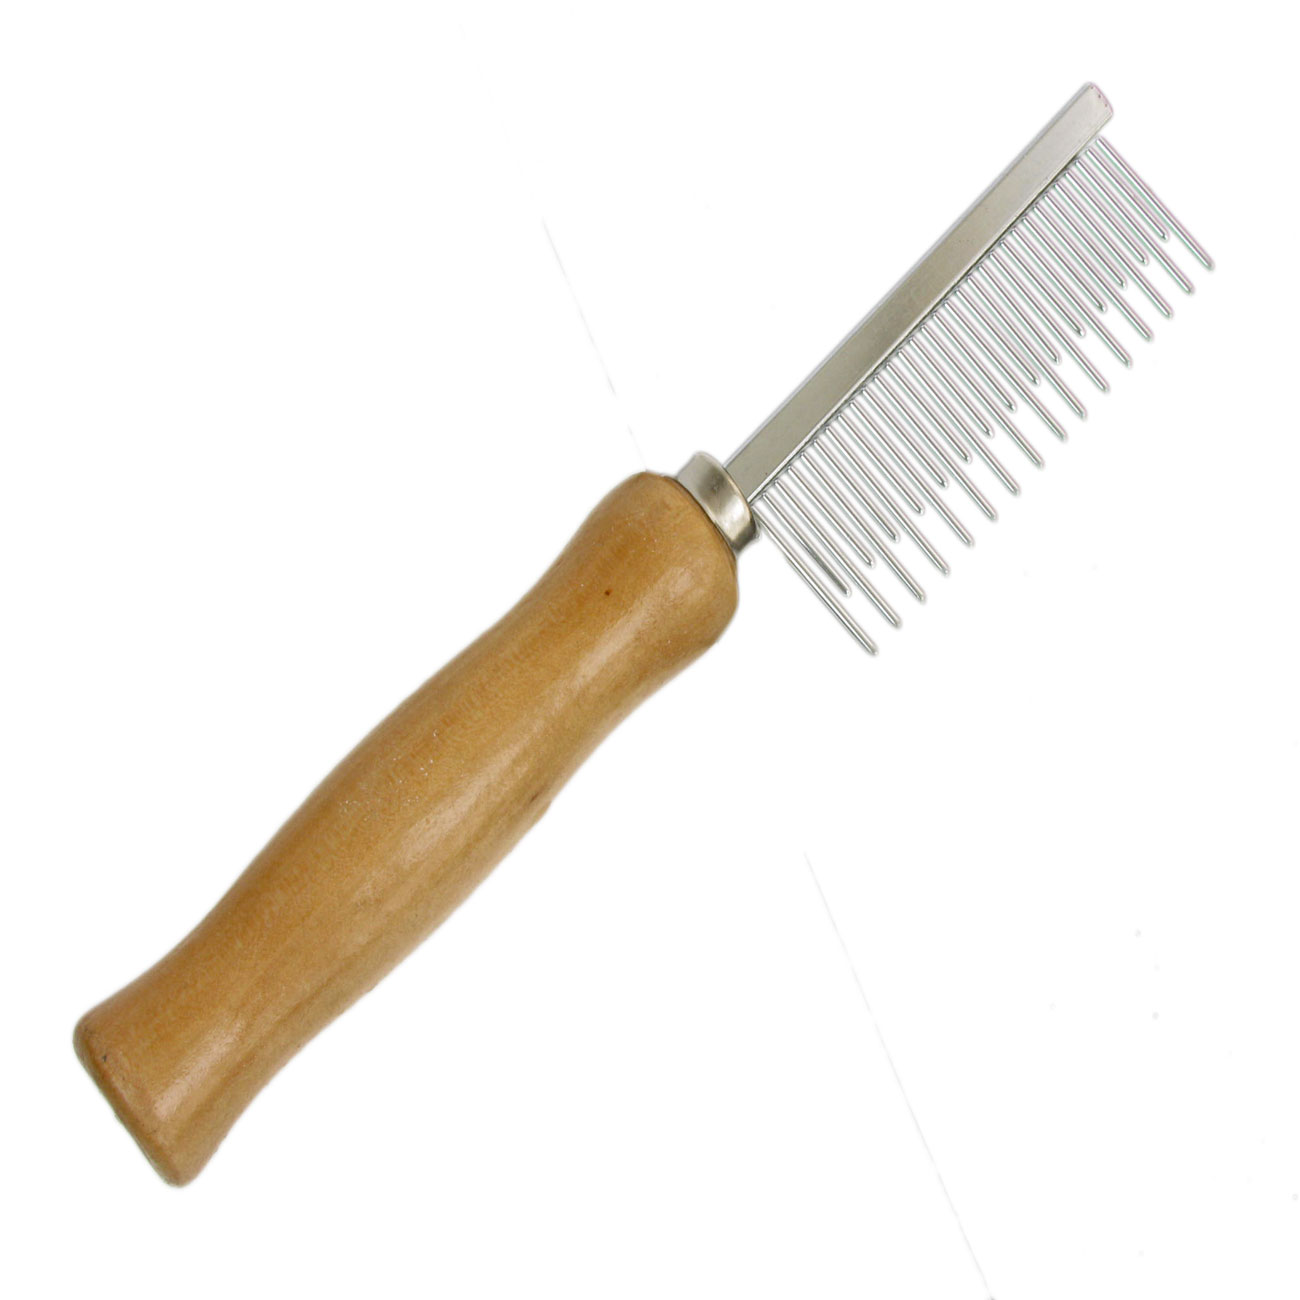
Combing is the method that I use most often and is most suitable when the fleece is relatively clean and in need of minimal preparation. Basically, you use a metal comb, I use an old dog comb, to comb and separate the tip of each staple.
You grasp the cut end of the staple with one hand and hold it against a hard protected surface. Then I just run the comb through the staple until it is open and smooth on both sides. This method is quick and easy to use, but hard on the hands. If I try to comb too much wool my left-hand ends up cramping, as you have to hold on to the staple very tightly if you don't want all of the wool to end up on the comb!
I usually only comb a small basket full of wool at each sitting and then move onto spinning. As I spin Merino, a small amount of wool goes a long way. If you are spinning a coarser fleece, you may want to look at using one of the other methods.
Flick Carding
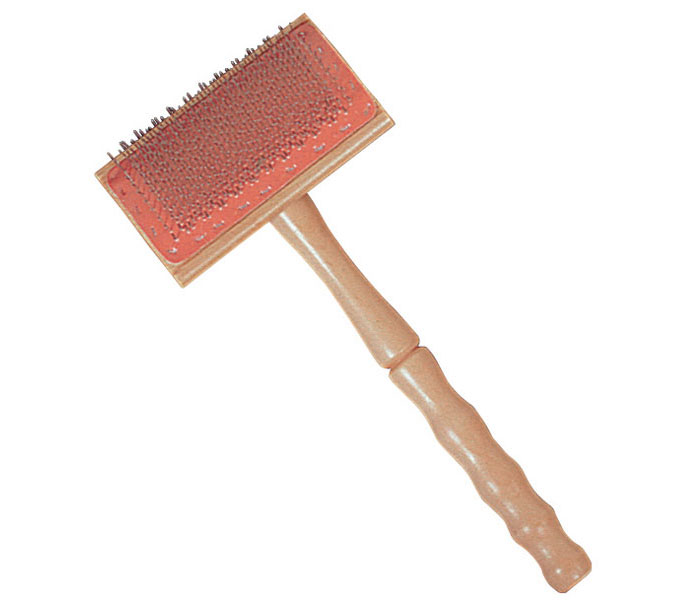
Flick carding is similar to combing in that you hold the cut end of the staple in one hand and use the flick carder to open the tip of the staple.
A flick carder is a small paddle or batten on a handle with small metal teeth. Rather than combing the staple you use a hitting motion with the flick carder. (A protected surface is a must with a flick carder!)
As with combing, you need to hold onto your staple very tightly or the wool will collect on the carder.
Hand Carding
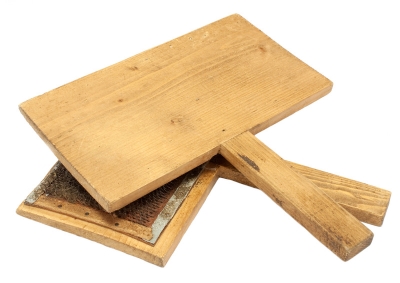
Carding wool with hand carders involves using two larger paddles or battens. One of the paddles is filled with the staples one at a time by pressing the butt end into the metal teeth at on end of the paddle and then pulling on the staple to embed it into the metal teeth across the paddle.
This process is repeated until the paddle is full. Then you brush the second paddle across the full one lightly a couple of times. This action will transfer some of your wool onto the second paddle. When they both have about half of the wool, you peel the wool off the carders.
To finish the job you roll the two layers into a rolag, and it is ready to spin!
Carding Wool with a Drum Carder
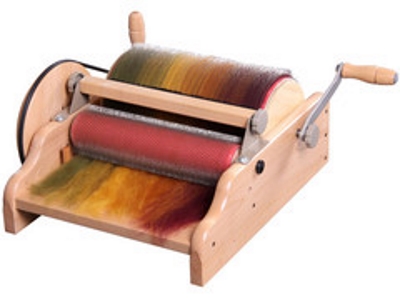
If you have a large amount of wool to be carded, I would recommend the use of a drum carder. It is usually a good idea to wash your wool before you use your drum carder to prevent the dirt and grease in the wool from soiling your carding cloth.
Tease open the tips of each staple a little and place them on the bed of your drum carder. I have found that it makes little difference which end goes into the carder first, the tip or the cut end of the staple, but make sure you feed all of the staples in the same way.
To feed your staples into the drum carder you just turn the handle away from you and the staples will be drawn under the small roller. Continue turning the handle until all of the fibres have wound onto the larger roller and are lying smoothly. Continue feeding your staples into the carder until the top or larger roller is evenly filled up to the top of the metal teeth. To remove the wool, you need to turn the handle until the metal strip on the large roller is at the top. Then you use the metal awl (came with the drum carder) to break the batt.
Do not cut the batt, but insert the awl underneath the fibres and lift it up until the fibres separate naturally. Slowly turn the handle towards you while lifting the batt off the rollers.
Drum carders are ideal for blending different types of fibre, or for making sure a good mix of colored wools. Carding wool can also help if you need to mix in short staples.
Couldn't Find What You Were Looking for?
Try searching the site using the search box below:


Recent Articles
-
Shetland Knitting and Shetland Knitters
Feb 07, 21 07:44 AM
Shetland knitting and the women in the Shetland Isle who create Shetland lace are among the best knitters in the world. -
Fixing Knitting Mistakes
Jan 28, 21 02:35 AM
When you are learning how to knit, you are going to make a few mistakes. It might not make you happy but fixing knitting mistakes is par for the course. -
Shetland Lace Knitting
Dec 11, 19 07:03 PM
Shetland Lace Knitting is a particular style of knitting that developed in the Shetland Islands and was one of the main exports of the Island early in the last century.
 >
>


