How to Block Knitting
Quick Links
- Archived - Ask a Knitting Question
- Basic Knitting Stitches
- Beginner Knitting Patterns
- Knitting Abbreviations
- Needle Sizes Chart
- Tension Squares
- Yarn Comparison Chart
FYI: This site receives a small amount in commissions from affiliate links and third-party advertising.
You are going to want to learn how to block knitting at some point in your knitting career, particularly if:
- You have an edge that is curling, or
- Your knitted piece was worked in a lace pattern, or
- If your garment is large (bulky) you have issues with it losing it's shape after washing.
I knit a lot of fine lace items like baby shawls or evening stoles and need to block most of these items so that they take the right shape - particular for circular items like round shawls - and to open up the lace pattern. If you haven't blocked any of your knitting before you would be very surprised about how much difference it can make.
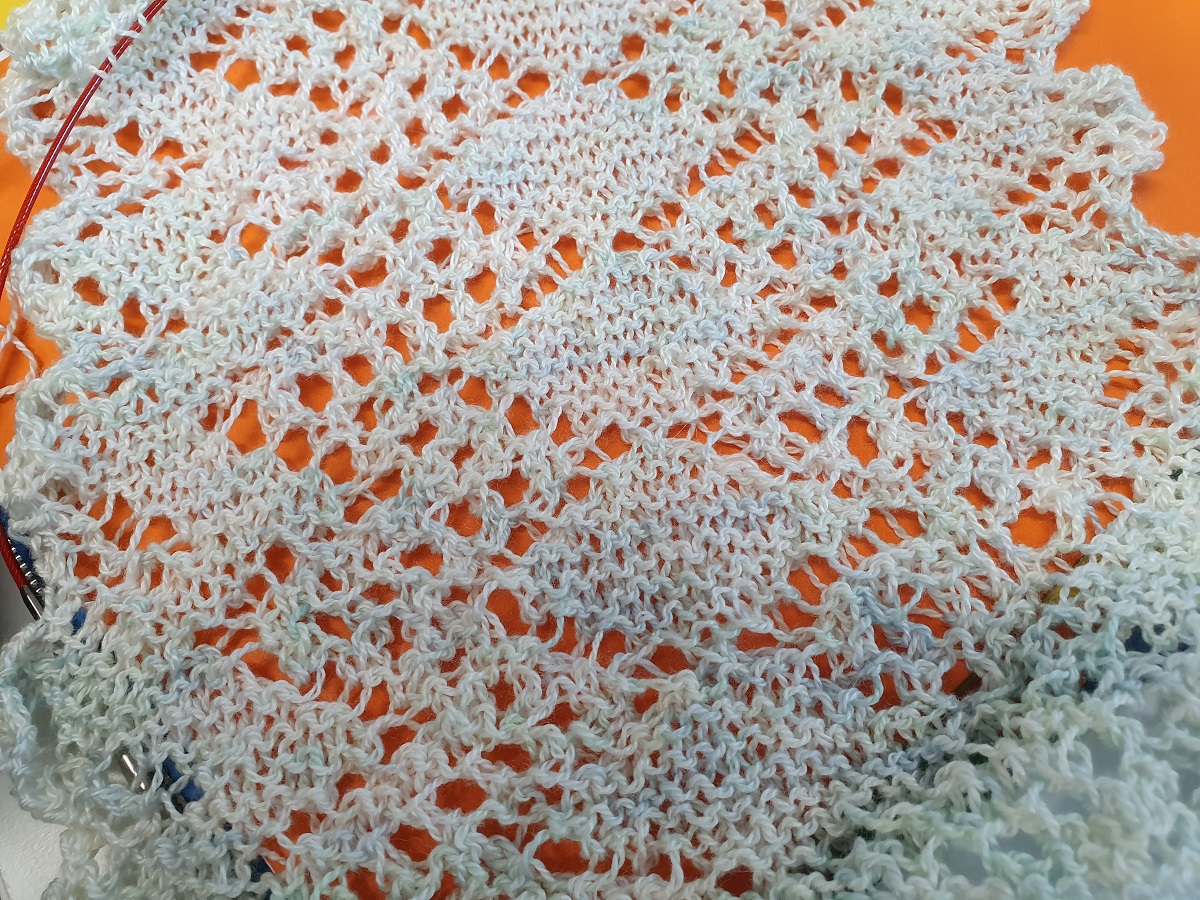
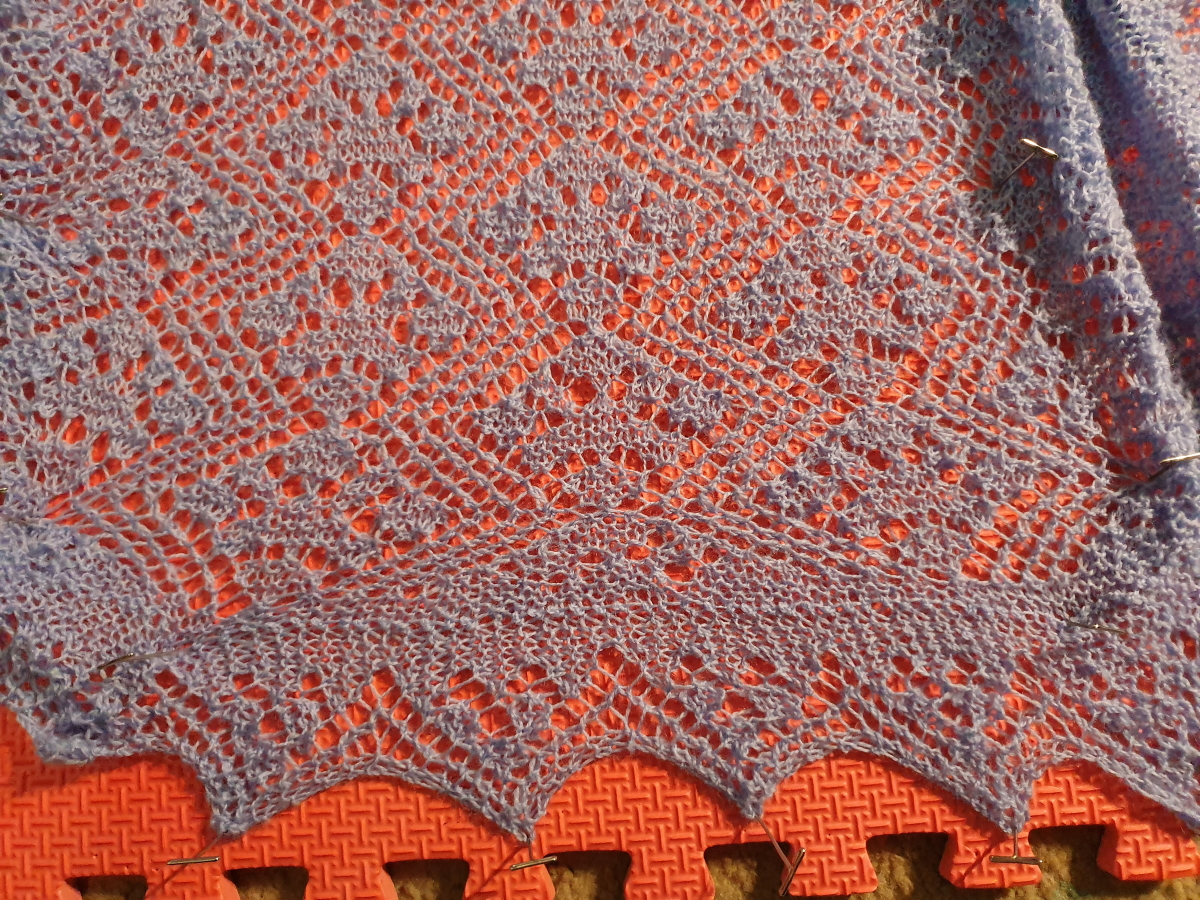
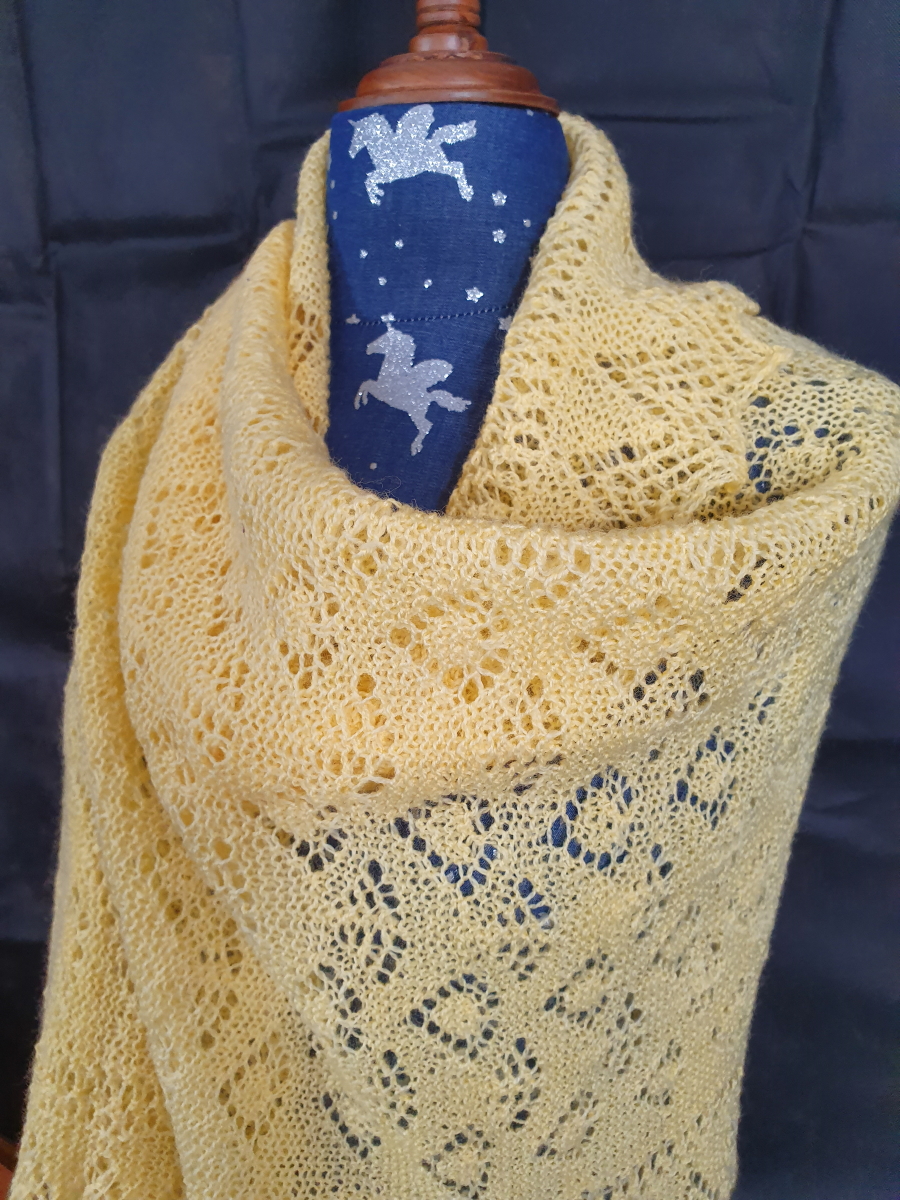
Check out the two images below. Same scarf in both, knitted using a 2 ply equivalent (and hand dyed in blues, greens and yellows on a cream base). One is pre-blocking and the other post-blocking.

© Knitting Naturally | Unblocked Lace Scarf (on the needles)

© Knitting Naturally | Same Lace Scarf after Blocking
As you can see from the images above, blocking a lace scarf makes a huge difference to the way the finished article looks. the points on the edges of the scarf are actually pointy, and the lace pattern has opened up and it looks much more even. So if you want result similar to these read on to find out how to block knitting.
Would you like to know how to block knitting easily?
Small knitted items can be blocked by laying them out on top of a clean towel on a bed when they are damp (just washed or spritzed with clean water) and pinning them out flat to dry. You should use stainless steel pins (so that they don't rust - rust is difficult to get out once it has been transferred to your knits) and slightly stretch your knitted item as you pin it out.
I have also blocked shawls in the past by laying towels down on a carpeted floor. The carpet is soft enough to push the pins into a little to secure the knitted items while they are drying.
These days however, I have gadgets!
I purchased several sets of interlocking play-mat type tiles from the local hardware store that I can lay out either on my bed or on the floor in almost any configuration I need, 2 x 5 or 6 for a stole, 5 x 5 for a round or square shawl and 1 x how many I need for a scarf. You can buy special blocking pads specifically for blocking your knitting, but they are virtually the same as my cheaper version (do exactly the same job) and they are less than a third of the price. So if you are going to splash out on some pads, do check out what might be hiding at your hardware store.

© Knitting Naturally | My Blocking Pads
I also have T pins (bought off an eBay store and sent from China) and stainless steel welding rods for keeping edges straight. Rather than pinning points, I can feed the rods through the points and pin the rods instead. Which makes it less likely that the points will be a different size or shape because of how I have pinned them.
For round shawls I bought curved blocking rods from a nice lady in Latvia. I also have hand forms for gloves and mittens that came from SOCKSBLOCKERS in Moscow, Russia. Isn't the internet wonderful?
Step by Step...
This is how to block knitting - or at least how I do it...
First step - get your blocking pads (or towels) in place before you start. This is important as you don't want to be wrangling your wet knitting while you lay them out.
Wash your item in warm water using a mild detergent. I use a specially formulated wool wash made by a company here in Australia and rinse in water at the same temperature - that it is very important - soap and temperature changes can result in your knitted becoming a felted mess so please be careful to get the temperature the same or at least, very similar.
I use a salad spinner to remove the excess water after rinsing or you wrap the item in a thick towel and stand on it so that the excess is transferred to the towel.
Lay the item out on the pads (or towels) and start pinning the edges down. I usually zig-zag up and down or around the item, stretching slightly as I go and put a reasonable amount of effort into making sure the item is stretched out the the right shape. You don't want your round shawl to end up as an oval!
You might need to go around several times adjusting pins here and there until your knitting is in the shape you need and you might need to spritz your knitting as you do if it dries out too much. Once you are happy with it, close the door and walk away. For the best results you should leave your knitting in place like this for at least 24 hours. So you need a blocking space that is not going to be an inconvenience to people or a spot where your pets like to sleep.
Believe me, I know from experience that cats really do not respect knitting that is left around for them to lay on or play with...
Couldn't Find What You Were Looking for?
Try searching the site using the search box below:


Recent Articles
-
Shetland Knitting and Shetland Knitters
Feb 07, 21 07:44 AM
Shetland knitting and the women in the Shetland Isle who create Shetland lace are among the best knitters in the world. -
Fixing Knitting Mistakes
Jan 28, 21 02:35 AM
When you are learning how to knit, you are going to make a few mistakes. It might not make you happy but fixing knitting mistakes is par for the course. -
Shetland Lace Knitting
Dec 11, 19 07:03 PM
Shetland Lace Knitting is a particular style of knitting that developed in the Shetland Islands and was one of the main exports of the Island early in the last century.
 >
>


