How to Cast On Ribwise
Quick Links
- Archived - Ask a Knitting Question
- Basic Knitting Stitches
- Beginner Knitting Patterns
- Knitting Abbreviations
- Needle Sizes Chart
- Tension Squares
- Yarn Comparison Chart
FYI: This site receives a small amount in commissions from affiliate links and third-party advertising.
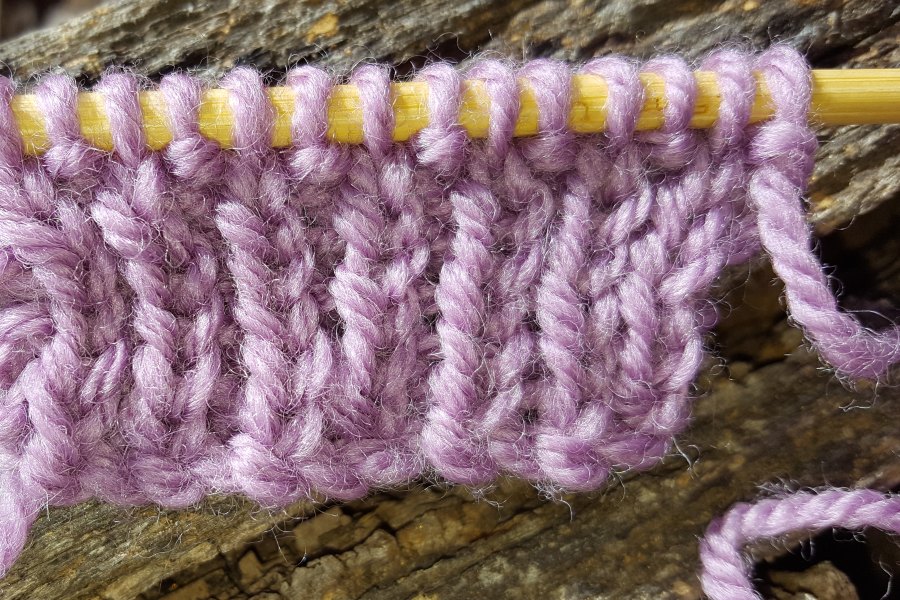
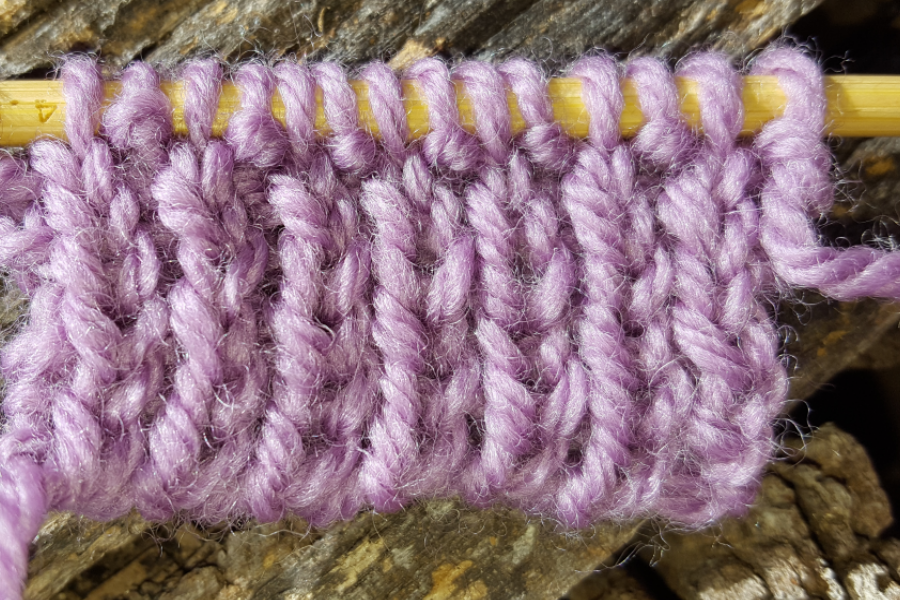
In my experience, hand knitted rib looks much tidier when you know how to cast on ribwise.
When you are knitting rib, the way your cast on edge looks can make or break the rib effect. If you use the cable method of casting on you will end up with a small ridge of stitches at the bottom of your knitted piece.
This ridge will evenly space your rib at the bottom so that all of the stitches on the first one or two rows will be sitting side by side rather than the knit stitches appearing to be at the front of the purl stitches. Not a huge drama perhaps, but I prefer my rib to look the same all the way up the rib.
To get around this, I use a modified form of the cable method to get my rib to sit the way I want it to.
When I am knitting 1 x 1 rib, I always have two knit stitches at either end of the right side row, as it makes it easier to sew the garment together. So there will always be an odd number of stitches and the pattern for a classic 1 x 1 rib would be as follows:
Row 1: K2, p1, *k1, p1, repeat from * to last 2 sts, k2.
Row 2: *K1, p1, repeat from * to last st, k1.
Knitting Instructions - How to Cast On Ribwise
As with the normal cable method, the first step in casting knitting on is to form a looped knot in your yarn to create your first stitch. I tend to use a slip knot to do this. (Don't tell any one, but this makes it easier to pull out extra stitches if I have miss-counted when casting on...)
To make a slip knot, wind the yarn around two fingers leaving a reasonably long taile and wind it over the two fingers again to the back of the first loop. Pull the back thread through the loop, insert your knitting needle and pull two tails to make the knot tight.
You should now have on loop or stitch on your left-hand needle. Holding the needle with your slip knot stitch in the left hand, push the right hand needle through the front of the loop, wrap the yarn around the right hand needle and pull it through to the front.
Slip your new stitch onto the left-hand needle as you normally would.
For a cable method cast on, you would just repeat this process until you had the right number of stitches on the needle. But with the ribwise method, the next and every following second stitch (the purl stitches) are formed slightly differently.
To form a purl stitch, insert the right hand needle between the first and second stitch on the left hand needle but instead of inserting it from the front, insert the needle from the back so that the tip of the needle is sticking out at the front. Wind the yarn around the needle and pull it through the back to form a loop. slip the loop onto the left-hand needle to form a stitch.
I hope you have found these instructions on how to cast on ribwise useful...
Couldn't Find What You Were Looking for?
Try searching the site using the search box below:


Recent Articles
-
Shetland Knitting and Shetland Knitters
Feb 07, 21 07:44 AM
Shetland knitting and the women in the Shetland Isle who create Shetland lace are among the best knitters in the world. -
Fixing Knitting Mistakes
Jan 28, 21 02:35 AM
When you are learning how to knit, you are going to make a few mistakes. It might not make you happy but fixing knitting mistakes is par for the course. -
Shetland Lace Knitting
Dec 11, 19 07:03 PM
Shetland Lace Knitting is a particular style of knitting that developed in the Shetland Islands and was one of the main exports of the Island early in the last century.
 >
>


