How to Knit Cables
Quick Links
- Archived - Ask a Knitting Question
- Basic Knitting Stitches
- Beginner Knitting Patterns
- Knitting Abbreviations
- Needle Sizes Chart
- Tension Squares
- Yarn Comparison Chart
FYI: This site receives a small amount in commissions from affiliate links and third-party advertising.
Would you like to know how to knit cables?
Once you have mastered the knitting basics you are probably going to want to start experimenting with more advanced knitting techniques, and experimenting with knitting cables (Arans) can be very satisfying.
Cable knits or 'Arans' are traditionally made with wool (real wool, not acrylics or nylon yarns) and both the materials used and the style of the knitting makes them very warm, even when wet.
Although you can use a dark wool to make your Aran, using a light colour tends to show off the cables and textures much more effectively than dark wool does.
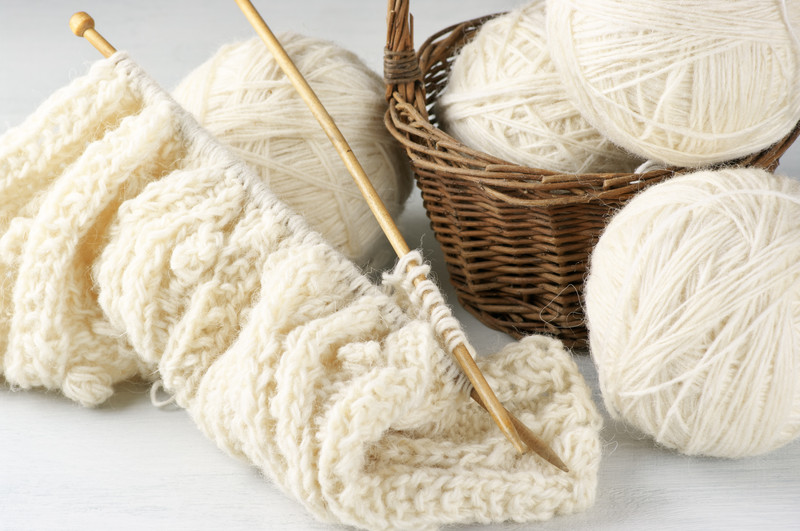
© sv1861 | CanstockPhotos.com Aran Knitting with Wool and Needles
Basically what you are doing when you are knitting cables is rearranging the order in which your stitches are being knitted across your row. You move stitches (and that is often blocks of stitches) to the back or the front of your work and knit a specified number of stitches from you left hand needle first (assuming that you are right handed). Then the held stitches are returned to the working needles to be knitted.
Knitted cables can be as simple as twisting two stitches (left or right) to form a simple 2 stitch cable or complicated enough to make your head spin!
To knit cables you are going to need to concentrate on what you are doing and keep a spare needle or a cable needle handy for the rows where you have to manipulate your stitches.
How to Knit Cables: Getting Started
Knitting cables is not as hard as it seems once you get the hang of it. If you are just starting out it is probably a good idea to start with something simple and work your way up to the more complicated Aran patterns.
To demonstrate how to knit cables, you will find instructions on this page for a test piece for a simple 2 x 2 cable. To get started, you will need a pair of size 4.0mm single pointed knitting needles and some 8 ply yarn. You will also need either a cable needle or a spare knitting needle to manipulate your stitches to form the cables.
This is what the stitch pattern instructions would look like.
Cast on 34 stitches.
1st row: P3, *k4, p2, repeat from * 4 times, p1.
2nd and all alt. rows: K4, *p4, k2, repeat from * 4 times, k1.
3rd row: P3, C2F, p2, k4, p2, C2F, p2, k4, p3.
Keeping pattern correct as set work three rows.
Commencing with a 3rd row, repeat the last four rows until work is the measurement desired.
For those of you who are more visual; here is a knitting graph for the instructions above.
So, what does it mean?
To start with the abbreviation for the cable 'C2F' stands for cable 2 front, and basically means that you are going to be doing a 2 x 2 cable with the first two stitches crossing the back two stitches at the front of the table.
If you are attempting cables, I am going to assume that you are comfortable with the basic knitting stitches and that you can cope with rows 1 and 2 without any additional explanations from me.
The third row is the row that might need a bit of explanation!
Okay in plain English then - purl 3 stitches, find your cable needle and slip the next two stitches off the left-hand needle onto the cable needle. Hold the cable needle (with the two stitches) at the front of your work and knit the next two stitches on the left-hand needle.
Now you either knit the two stitches off the cable needle or you can slip the two stitches back onto the left-hand needle and knit them from there.
There are four stitches involved in your cable. What you doing in effect is knitting stitch 3, then stitch 4, followed by stitch 1 and then stitch 2.
Congratulations, now you know how to knit cables! Now you just repeat this action (in the appropriate places) across your row.
Check out my Simple Cable Knitting Stitch Patterns
If you are looking for one or two simple cable stitch patterns to try out, you will find them on my Cable Knitting Stitch Patterns page. Sorry about the lack of photos on the page - I am working on it...
Couldn't Find What You Were Looking for?
Try searching the site using the search box below:


Recent Articles
-
Shetland Knitting and Shetland Knitters
Feb 07, 21 07:44 AM
Shetland knitting and the women in the Shetland Isle who create Shetland lace are among the best knitters in the world. -
Fixing Knitting Mistakes
Jan 28, 21 02:35 AM
When you are learning how to knit, you are going to make a few mistakes. It might not make you happy but fixing knitting mistakes is par for the course. -
Shetland Lace Knitting
Dec 11, 19 07:03 PM
Shetland Lace Knitting is a particular style of knitting that developed in the Shetland Islands and was one of the main exports of the Island early in the last century.
 >
>


